See all parts that fit your 1983 Diplomat
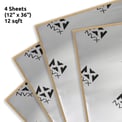
4-Door Kit - 12 Square Feet of Sound Dampening Material (Four 12" x 36" Pieces)


 Product highlights
• Eliminates Road Noise
• 2.3mm (90.55mil) thick for better performance
• Quiets Vibrations
• Stops Rattles
• Increases SPL
• Reduces Heat
• Simple To Install
• Easy To Form Aluminum
• Four Step Peel and Stick Installation
• Four 12" x 36" Pieces
Item Condition - Open Box, Great:
This product works like new, is well-cared-for and in great condition. May show limited signs of wear or use and may be missing non-essential parts, accessories or original packaging.
Sound dampening material is key to reducing the rattles and shakes in your car. It effectively reduces the amount of road noise that is let in through the thin panels of your vehicle. It also lessens vibrations that are created by playing music through your speakers. It works by adding weight to the desired panel, which lowers the resonating frequency. You will notice by adding this material to your car, your sound system will likely get noticeably louder. If you have subwoofers, this is the perfect kit for your vehicle.
NVX is one of the world's leading manufacturers of sound dampening material, and is up to 30% thicker than the other brands. Don't pay ridiculous amounts of money to kill those rattles, when you can get everything you need from NVX for a fraction of the price. With the SDDK12 dampening material, you will notice a higher quality sound from your system as well as a drastic reduction of road noise. With 12 square feet of material, you will have enough to cover all of those problem areas that have been bothering you for so long!
| Best Value! | ||||
|
|
|
|
|
|
NVX SDDK12 |
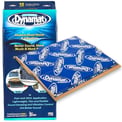
Dynamat 10612 |
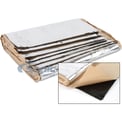
Stinger RKXDK |
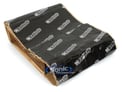
Ballistic SSDK |
|
|
Price |
$39.99 |
$59.99 |
$49.99 |
$56.99 |
|
Total Sq. Ft. |
12 Sq. Ft. | 12 Sq. Ft. | 12 Sq. Ft. | 12 Sq. Ft. |
|
Total Thickness |
2.3mm | 1.19mm | 2.0mm | 2.1mm |
|
Material |
100% Butyl Rubber & Aluminum Foil |
Butyl Rubber & Aluminum Foil |
Butyl Rubber & Aluminum Foil |
Butyl Rubber & Aluminum Foil |
|
Self-Adhesive Back |
|
|||
| Dimensions |
Four Sheets: |
Three Sheets: |
Six Sheets: |
Four Sheets: |
Sound damping can be a very beneficial accessory to reduce noise and vibration. To take full advantage of this soundproofing, read these instructions carefully and follow them till the end. It’s important to familiarize yourself with all the details to install the sound damping correctly. Incorrect installation will result in less than desirable results.
Step #1
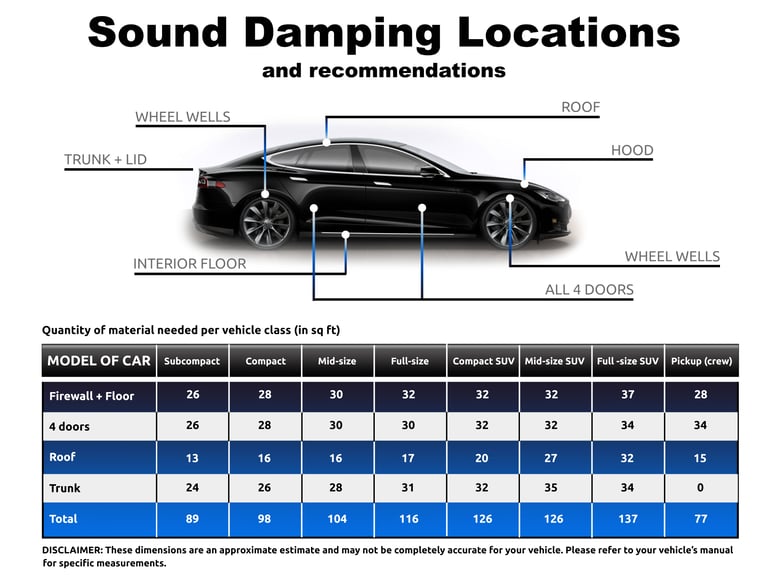
The first step is to decide which location in your car you want to insulate. These locations include the floorboards, roof, door panels, trunk or firewall. We recommend soundproofing all metal surfaces for maximum sound deadening performance. Next, refer to your vehicle’s service manual for information on how to dismantle the trimming panels. Be careful when removing the panels to avoid breaking the fixing clips.
Step #2
Once the trimming is dismantled, remove the remainder of the factory insulation if it is damaged. If it is still intact, there is no need to permanently remove it. Next, you need to properly clean, dry and degrease the prospective surface. Sound deadening won't adhere properly if applied to a wet or dirty surface. Use a metal surface cleaner or degreaser along with a dry, clean rag. Make sure to use gloves and apply the degreaser in a well-ventilated space.
Step #3
For this step, measure the prospective surface you are going to treat. To make things easier, make a template of the appropriate size on a large sheet of paper and then transfer it to the damping material. That will make it easier to install it more accurately and avoid wasting material. Use a utility knife to cut the desired shape and size. Be careful and use gloves to protect your hands.
Step #4
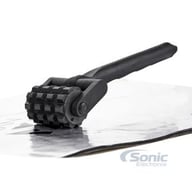
Place a sheet of sound damping to the surface without removing the protective film. If it covers the surface properly, you are ready to install it. Gradually remove the protective paper film as you apply it to the surface for better adhesion. Once on the surface, press it down firmly until it is set in place. Flatten it with your hands to avoid unnecessary air bubbles. Use a rolling tool like the NVX SDRLR1 to press the mat down to the metal surface. Go across the entire surface with the roller to ensure that the sheet is installed properly.
Step #5
Once all sound deadening is in place, simply reinstall all trim pieces and carpet back to its original placement. Now you are ready to enjoy higher sound quality with fewer vibrations.
This item is currently not eligible for our low price guarantee. This may be due to supply constraints, manufacturer restrictions, or another reason. We're always here to help you get the best price possible so give us a call or email today. Our experts will do their best to build the system that works for you within the rules.
Manufacturer:
Model Number:
SDDK12-3
Weight:
8.60lbs
Internal SKU:
ls-sddk12-obc7
Internal Product ID:
183461

| 5 star |
|
0% |
| 4 star |
|
0% |
| 3 star |
|
0% |
| 2 star |
|
0% |
| 1 star |
|
0% |
| Durability | ||
| Value | ||
| Features | ||
| Design | ||
| Usability |

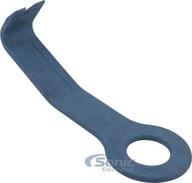
Belva Five Piece Installer's Panel Removal Tool Kit
Assists in removing door panels, vehicle upholstery, and many other parts of the car.
(73)
$11.99
List price $18.99

NVX Black Handle Stainless Steel Utility Knife
A must have when installing sound damping material
(1)
$3.99
List price $9.99

NVX SDRLR1 Rubber Sound Dampening Roller
2-inch Professional Heavy Duty Roller for Sound Dampening
(126)
$10.99
List price $13.99
Cancel


Modern vehicles often require specific brackets, wiring harnesses, and mounting solutions. A fit guide ensures:
Whether you're replacing a factory stereo or upgrading your entire audio system, the Fit Finder eliminates uncertainty.